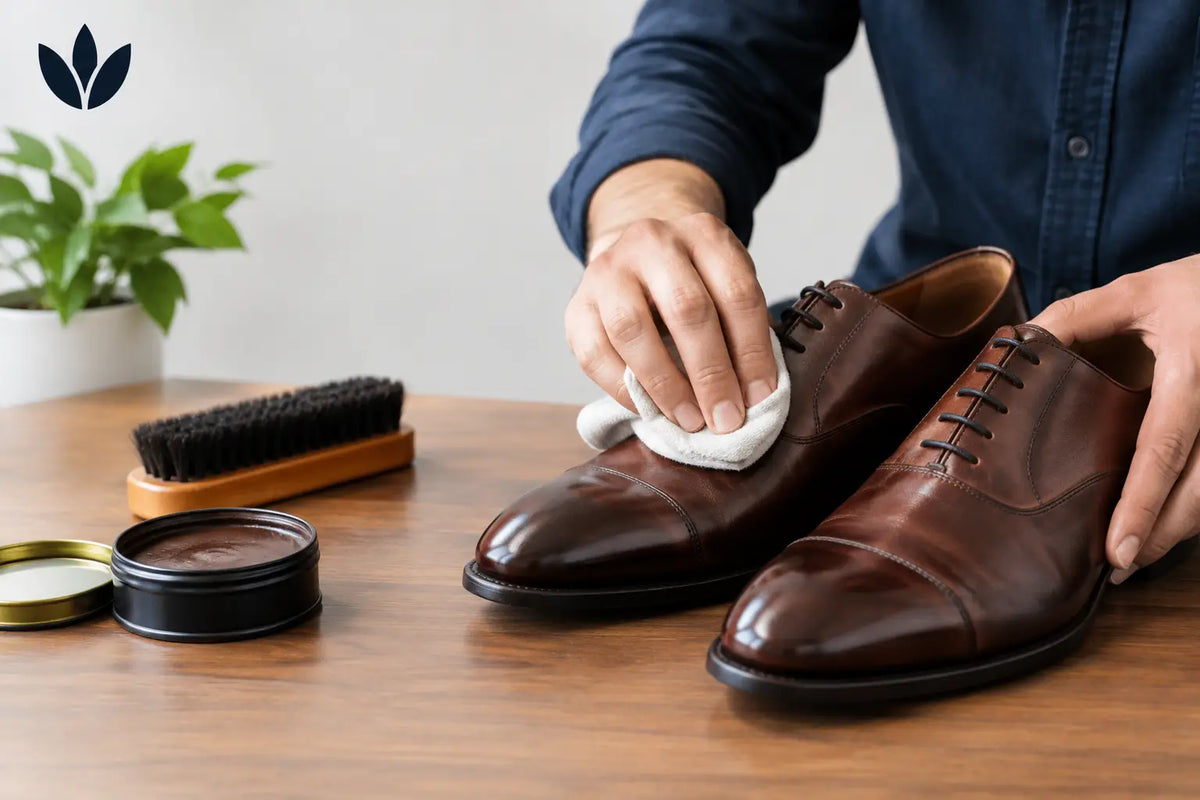
A sharp pair of leather shoes can carry an entire look. The problem is that most people polish leather shoes only when the surface looks tired, then apply too much product too fast. The result is cloudy buildup, blocked creases, and a finish that looks forced instead of expensive. The right approach is controlled: remove what does not belong, restore what the leather needs, then build shine with restraint.
For smooth leather boots, loafers, dress shoes, and polished sneakers, a regular care routine protects more than appearance. It helps leather stay flexible, keeps its color rich, and gives every outfit a more intentional edge.
What Polishing Leather Shoes Actually Does
Polish is not one product with one job. A quality cream polish returns pigment and moisture to faded leather, while wax polish sits closer to the surface and creates a more reflective finish. Used together in the right order, they make shoes look deeper in color, cleaner around the edges, and more refined under direct light.
That distinction matters. If your shoes are dry, scuffed, or losing color, wax alone will not fix the issue. It may add a temporary shine, but it can also seal in dryness. If the leather already looks healthy and you want a crisp finish for an event, dinner, or a high-stakes meeting, a light wax layer may be all you need.
Polishing is also not the answer for every material. Smooth, finished leather responds well to cream and wax. Suede, nubuck, distressed leather, patent leather, and heavily textured leather need material-specific care. Using traditional shoe polish on suede can permanently flatten its texture and stain the surface. Know the finish before you start.
How to Polish Leather Shoes the Right Way
Set aside 20 to 30 minutes when you can work without rushing. The goal is not to coat the shoe. It is to make the leather look like its best version.
Start with a clean, dry surface
Take out the laces if you want a thorough result, especially on lace-up shoes where dust collects around the eyelets and tongue. Insert shoe trees if you have them. They hold the shape of the upper and open the creases slightly, making the leather easier to clean and polish.
Brush the shoes with a soft horsehair brush or wipe them with a clean, dry cloth. Focus on the welt, seams, heel edge, and the area where the upper meets the sole. Dirt left behind gets worked into the leather when you buff, which is how a promising shine turns dull and uneven.
If there is stubborn grime, use a slightly damp cloth and a leather cleaner made for smooth leather. Use very little moisture. Leather does not need to be soaked to be clean. Let the shoes dry fully before applying any conditioner or polish.
Condition only when the leather needs it
Conditioner restores flexibility, but more is not better. Shoes that feel stiff, look faded, or show pale dry lines in the creases may need a light application. If the leather is already supple and rich in color, skip this step.
Work a small amount into the leather with a soft cloth using small circles. Do not flood the shoe, and avoid leaving visible residue along stitching or the sole edge. Give the conditioner time to absorb, then wipe away excess. A heavy hand can soften structured leather too much and make it harder to achieve a clean finish.
Apply cream polish for color and depth
Choose a cream polish that closely matches the shoe color. A near match is safer than a dramatic color change. Black shoes are straightforward, but with brown leather, pay attention to undertones. A shoe with warm tobacco or reddish notes can look flat under a cool, dark brown cream.
Wrap a soft cloth around two fingers and apply a small amount of cream in thin, even circles. Start with the toe, sides, vamp, and heel counter. Use a little more attention on scuffs, but do not try to erase deep damage in one pass. Thin layers look natural. Thick layers collect in creases and signal neglect.
Allow the cream to settle for five to ten minutes. Then brush with quick, light strokes until the surface develops an even low shine. At this stage, the shoe should look nourished and clean, not mirror-like. That is the foundation.
Build shine with wax, not excess product
Wax polish is where you create presence. Use it lightly on the toe cap and heel counter, the firmer sections of the shoe that can hold a brighter shine. The vamp flexes when you walk, so a heavy wax application there will crack and crease quickly.
Apply a tiny amount of wax with a cloth. One thin layer is enough to begin. Let it haze for a moment, then buff with a soft brush or a clean polishing cloth. Repeat only if the finish needs more depth. Two restrained layers usually look better than six rushed ones.
For a high-gloss toe, add a drop of water to the cloth and work in extremely thin circles with a small amount of wax. Let each layer dry before adding another. This technique takes patience. It also has limits: a glassy toe can look exceptional with formal footwear, but it may feel overly rigid on casual boots or minimal everyday loafers. Match the shine to the setting.
The Details That Keep the Finish Sharp
A polished shoe loses impact when the edges are ignored. Wipe the welt, clean the heel, and use a neutral edge dressing if the stacked leather sole or heel perimeter looks faded. Keep product off contrasting stitching and light midsoles unless the product is specifically intended for them.
Let the pair rest before wearing it. Fifteen to thirty minutes gives the polish time to set and reduces the chance of picking up dust immediately. If you polished shoes for a night out, give them a final dry-cloth buff just before leaving. It takes seconds and changes how the leather catches light.
Storage matters as much as the polish itself. Keep leather shoes away from direct heat, which can dry and warp them. Use shoe trees for pairs you wear often, and rotate your footwear instead of wearing the same pair day after day. Leather needs time to release moisture from normal wear. A polished surface lasts longer when the material underneath is not stressed.
Common Mistakes That Make Leather Look Cheap
The most common mistake is using too much polish. Heavy layers create a waxy, plastic-looking surface that attracts dust and breaks apart in flex points. Start with less than you think you need. You can always add another thin layer.
Another mistake is polishing over dirt or old buildup. If the surface looks streaky, feels tacky, or refuses to shine evenly, do not keep adding wax. Clean it first. In some cases, a leather-safe cleaner can remove enough residue to let the leather breathe again.
Color mismatch can also undermine an otherwise great pair. Neutral polish works for basic maintenance and can add mild shine, but it will not restore faded color as well as a matching cream. Save neutral wax for shoes that are already in good condition or for shades that are difficult to match precisely.
Finally, do not confuse a louder shine with better care. Some leather looks best with a soft satin glow. Matte-finished boots, rugged grain leather, and fashion-forward shoes with a more relaxed silhouette often gain character from a clean, conditioned finish rather than a reflective one. Precision is the luxury signal.
When to Polish Leather Shoes
For shoes worn once or twice a week, a quick brush after each wear and a full polish every four to six weeks is usually enough. Shoes worn in rain, city grime, or hard daily rotation may need attention more often. The leather tells you what it needs: loss of color, dry creases, water marks, and surface scuffs are better indicators than a strict calendar.
Before a major moment, polish the night before rather than five minutes before the door. The finish will have time to settle, and you will avoid the hurried marks that come from trying to force a shine under pressure.
Well-kept leather does not need to announce itself. It holds its color, keeps its shape, and looks composed from every angle. Give your shoes that level of attention, and the rest of your look has a stronger foundation before you say a word.